
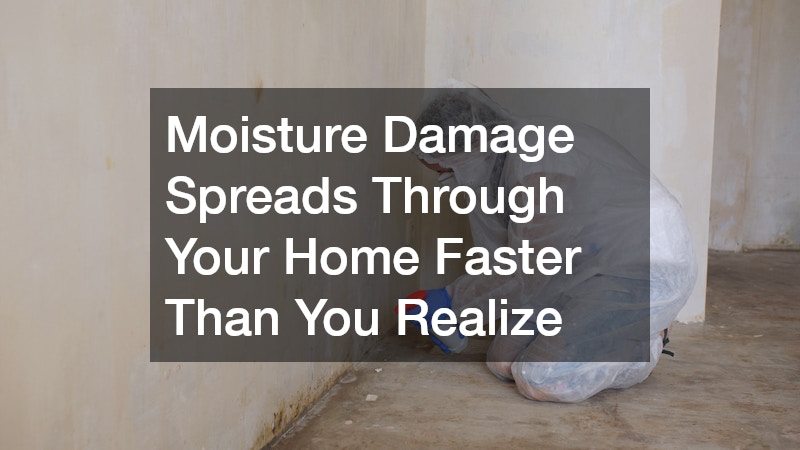
A small water stain on the ceiling or a faint musty smell in the basement rarely seems urgent, but moisture behaves like a silent traveler once it enters your home. It moves through drywall, seeps into subfloors, and climbs up wooden framing long before you notice visible signs. Within 24 to 48 hours, minor leaks can trigger mold growth, structural weakening, and damage to personal belongings that costs thousands to repair. Understanding how quickly moisture spreads through different areas of your home can help you catch problems early and protect your investment.

Roof Leaks That Travel Further Than You Think
Water entering through a damaged roof rarely stays where it first breaks through. It often runs along rafters and insulation, appearing as a stain several feet from the actual point of entry, which makes leaks tricky to diagnose without a trained eye. A missing shingle or cracked flashing can allow moisture to seep into attic insulation for weeks before it becomes visible on your ceiling below.
This is why periodic roof inspections matter, especially after severe weather. Experienced roofers can identify early warning signs like curling shingles, soft spots, or compromised seals around vents and chimneys before they turn into major structural issues. Catching these problems early is significantly cheaper than repairing water-damaged insulation, drywall, and framing later.
- Check attic spaces for discoloration or a musty odor after heavy rain
- Look for granules from shingles collecting in gutters, a sign of roof wear
- Inspect flashing around chimneys and skylights annually
- Address ceiling stains immediately rather than waiting for them to spread
Gutter and Drainage Systems That Protect Your Foundation
Clogged or overflowing gutters are one of the most common yet overlooked causes of moisture intrusion. When water cannot properly channel away from your roofline, it pools near the foundation and seeps into basement walls or crawl spaces. Over time, this constant saturation weakens concrete and creates the perfect environment for mold and mildew.
Many homeowners are turning to gutter guard installation as a proactive way to reduce maintenance and prevent debris buildup that leads to overflow. These systems keep leaves and twigs from clogging the channel, allowing water to flow freely toward downspouts and away from the home. While no gutter system is entirely maintenance-free, guards significantly reduce the frequency of clogs that cause water to back up under roof edges.
- Clean gutters at least twice a year even with guards installed
- Ensure downspouts direct water at least five feet away from the foundation
- Watch for water marks or efflorescence on basement walls
- Grade soil away from the house to further reduce pooling
Plumbing Leaks Hidden Behind Walls and Under Floors
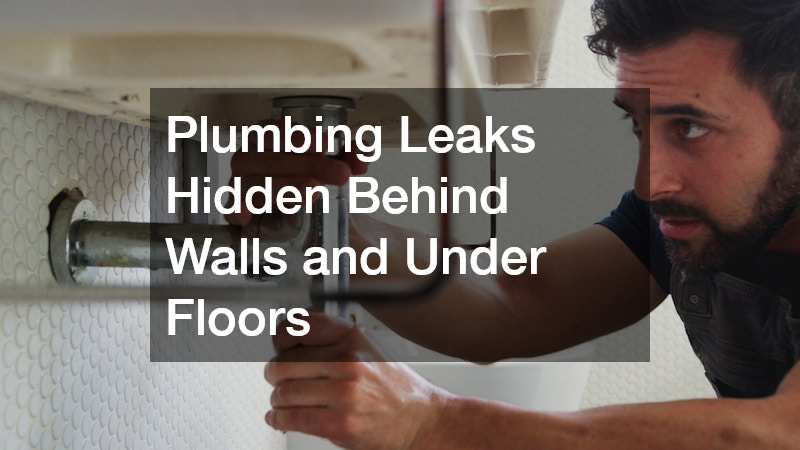
Not all water damage starts from outside. Hidden plumbing leaks behind walls or beneath flooring can go undetected for months, slowly saturating wood framing, insulation, and drywall. By the time a homeowner notices warped flooring or a musty smell, significant damage may have already occurred.
A licensed plumber can identify slow leaks using specialized equipment like moisture meters and thermal imaging cameras, tools that most homeowners do not have access to. Regular plumbing inspections are especially important in older homes where pipes may be corroded or improperly sealed. Addressing a small leak immediately is far less expensive than repairing extensive water damage after it spreads throughout multiple rooms.
- Watch for unexplained increases in your water bill
- Check under sinks and around toilets for soft or discolored flooring
- Listen for dripping sounds inside walls when the house is quiet
- Schedule annual plumbing inspections, especially in homes over 20 years old
Basement and Crawl Space Humidity Control
Basements and crawl spaces are naturally prone to excess moisture due to their proximity to the ground and limited airflow. High humidity in these areas doesn’t just smell unpleasant, it actively encourages mold spores to multiply and can eventually affect indoor air quality throughout the entire home. Wood beams and support structures exposed to consistent dampness lose strength over time, which can compromise the structural integrity of the house.
Installing a dehumidifier or vapor barrier can dramatically reduce moisture levels in these vulnerable spaces. It’s also worth noting that once mold has taken hold, simply drying the area isn’t enough since spores can remain dormant and reactivate when humidity rises again. In more severe cases, professional water damage restoration services may be necessary to fully remove contaminated materials and prevent long-term health risks for occupants.
- Keep basement humidity levels between 30 and 50 percent
- Use a vapor barrier over exposed dirt crawl space floors
- Inspect sump pumps regularly to ensure they’re functioning properly
- Look for white, powdery mineral deposits on concrete walls
Kitchen and Bathroom Cabinets Exposed to Repeated Moisture
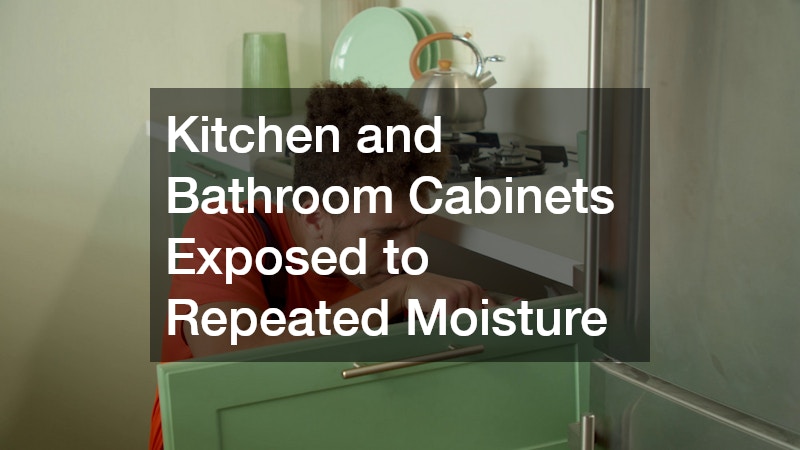
Cabinets near sinks, dishwashers, and bathtubs face constant low-level exposure to moisture that can warp wood, peel finishes, and encourage mold growth inside cabinet boxes. Even small drips from a leaking faucet can seep into the base of cabinetry over time, causing swelling and discoloration that isn’t always immediately visible from the outside. This kind of gradual damage often goes unnoticed until the cabinet material has already started to deteriorate.
When moisture damage is caught early, refinishing may be an option rather than full replacement, and cabinet painting can restore both appearance and a protective moisture-resistant seal to the wood surface. Choosing paints and sealants designed for high-humidity environments adds an extra layer of protection against future exposure. Homeowners should also check under sinks periodically for pooling water or soft spots in the cabinet base.
- Inspect cabinet bases under sinks every few months
- Wipe up spills near dishwashers and sinks promptly
- Use moisture-resistant sealants when refinishing kitchen or bathroom cabinets
- Ensure proper ventilation in bathrooms to reduce ambient humidity
Flooring Materials That Trap or Resist Water Damage
Different flooring materials react to moisture in very different ways, and choosing the wrong one for a moisture-prone area can lead to costly replacements. Hardwood floors, for example, can warp and buckle when exposed to standing water, while certain tile and vinyl options are far more resistant to moisture penetration. In commercial and residential settings alike, selecting the right materials from the start prevents years of maintenance headaches.
For spaces with heavier foot traffic or moisture exposure, such as entryways or laundry rooms, durable office flooring materials originally designed for commercial resilience are increasingly being adapted for home use due to their water resistance and easy maintenance. These materials often include sealed seams and moisture barriers that standard residential flooring lacks. Homeowners renovating moisture-prone areas should prioritize water resistance as much as aesthetics when selecting new materials.
- Choose water-resistant vinyl or tile for bathrooms and laundry rooms
- Avoid solid hardwood in basements or areas prone to humidity
- Look for flooring with sealed seams to prevent water seepage
- Consider moisture-resistant underlayment for added protection
Outdoor Living Spaces That Contribute to Water Intrusion
Backyard features like swimming pools and artificial lawns can also play a surprising role in moisture-related issues around the home if not properly maintained or installed. Cracked or aging pool liners can leak significant amounts of water into surrounding soil, which may migrate toward the foundation if the pool is situated too close to the house. A pool losing even a quarter-inch of water per day beyond normal evaporation may signal a liner problem worth investigating. This slow leaching effect often goes unnoticed since the water loss is gradual rather than sudden, and homeowners often chalk it up to hot weather or normal evaporation. Over months or years, though, that steady seepage can saturate the soil near a foundation wall, leading to hydrostatic pressure, cracks, or basement seepage. Experts generally recommend keeping pools at least 10 feet from the home’s foundation for this reason.
Artificial turf presents a different but related concern. Poor drainage beneath synthetic lawns can trap water instead of letting it filter naturally into the ground, especially if the base layer wasn’t graded correctly or the drainage holes become clogged with debris over time. That trapped moisture can pool near siding, patios, or foundations, quietly feeding the same kind of long-term damage that a leaking pool liner causes.
Similarly, poor drainage planning during turf installation can create runoff problems that direct water toward the home instead of away from it. Synthetic turf systems need proper base preparation, including several inches of compacted aggregate and a perforated drainage layer, to function correctly. Without this foundation, water can pool on the surface and eventually seep toward nearby structures, especially after heavy rain. Grading matters just as much as the base material itself. Turf installed with a flat or negatively sloped grade near the foundation essentially turns the yard into a shallow basin that collects water right where you don’t want it. A slope of at least 1-2% away from the house is generally recommended, along with strategically placed drainage channels or French drains for larger lawn areas.
Homeowners investing in these outdoor upgrades should work with experienced installers who account for proper grading and drainage from the start. Ask potential contractors how they plan to handle water flow around patios, walkways, and planting beds that border the turf, since these transition points are common weak spots. A qualified installer should also be able to explain how their drainage plan accounts for your specific soil type, since clay-heavy soil drains far more slowly than sandy soil and may require additional drainage measures.
- Inspect pool liners annually for cracks, thinning material, or seam separation, especially after winter freezes
- Maintain at least ten feet of distance between pools and the home’s foundation to prevent seepage into basement walls
- Check that pool decking slopes away from the house at roughly a quarter-inch per foot
- Ensure turf installation includes proper sub-base drainage, such as a compacted gravel layer and perforated piping
- Watch for pooling water on artificial turf after heavy rain, a sign the sub-base has settled or clogged
- Redirect any outdoor water features away from the house, keeping pumps and overflow lines at least five feet from the foundation
Furniture, Rugs, and Belongings Affected by Water Exposure
When water damage occurs indoors, furniture and area rugs are often among the first casualties, absorbing moisture and developing mold or mildew within days if not addressed quickly. Natural fiber rugs are especially vulnerable since they retain moisture longer than synthetic materials and can develop odors that are difficult to eliminate. Upholstered furniture can also harbor moisture deep within cushions, long after the surface appears dry.
Professional rug cleaning companies have specialized equipment to extract moisture and treat affected fibers before mold has a chance to set in, which is often more effective than at-home drying methods. Acting within the first 48 hours after water exposure significantly increases the chance of saving valuable rugs and furniture. Waiting too long typically means the difference between restoration and replacement.
- Remove wet rugs from affected areas as soon as possible
- Use fans and dehumidifiers to speed up drying time
- Contact professionals within 48 hours for the best chance of saving materials
- Check furniture legs and undersides for hidden moisture damage
Renovation Planning That Prevents Future Moisture Problems
Whether you’re building a new home or renovating an existing one, moisture prevention should be a core part of the planning process rather than an afterthought. Poor site grading, inadequate vapor barriers, and improperly sealed windows are common culprits behind chronic moisture issues that plague homes for years after construction. Addressing these details during the design phase is far more cost-effective than retrofitting solutions later.
Companies specializing in new home building and remodeling increasingly incorporate moisture management systems into their designs, including improved drainage planning, higher-grade waterproofing membranes, and better ventilation systems in bathrooms and kitchens. These upfront investments pay off by reducing the likelihood of future water damage and the associated repair costs. Homeowners planning a renovation should ask contractors specifically about moisture control measures before construction begins.
- Ask about vapor barrier installation during any major renovation
- Ensure proper grading is planned around new additions
- Request upgraded window and door seals in moisture-prone climates
- Discuss ventilation improvements for kitchens and bathrooms during remodels
Moisture damage rarely announces itself loudly, which is exactly why it causes so much destruction before homeowners realize what’s happening. By understanding how water moves through roofs, walls, floors, and outdoor spaces, you can catch small problems before they become expensive disasters. Regular inspections, timely repairs, and thoughtful material choices throughout your home go a long way toward keeping moisture where it belongs, outside. Taking action now, rather than waiting for visible damage, is the most reliable way to protect both your property and your peace of mind.
